 When brooding new chicks, it is not necessary to purchase an expensive brooder out of a catalog. It is definitely an option if you can afford it, but it is not necessary.
Many people also use wading pools, boxes, fish tanks, livestock troughs, or wooden boxes. Some have even converted old dressers and other furniture into brooders.
Here at Mother Udder Farm, we prefer to be as frugal as possible. We use totes that fit in our laundry room brooder shelves and can be checked quickly and easily at a glance. They also fit three side by side in the back of our SUV, which is lovely when picking up chicks, ducklings, or goslings locally or from the post office.
Most people say you need about 2 square feet per chick. We raise ours in the summer, it is very warm here. So, ours go outside much earlier and larger brooders aren’t necessary. We can get away with more chicks in a smaller space that way.
If you are raising yours in the spring or live in a cold area, you might need a larger brooder or to put less birds in yours. However, a large plastic tote works well for us.
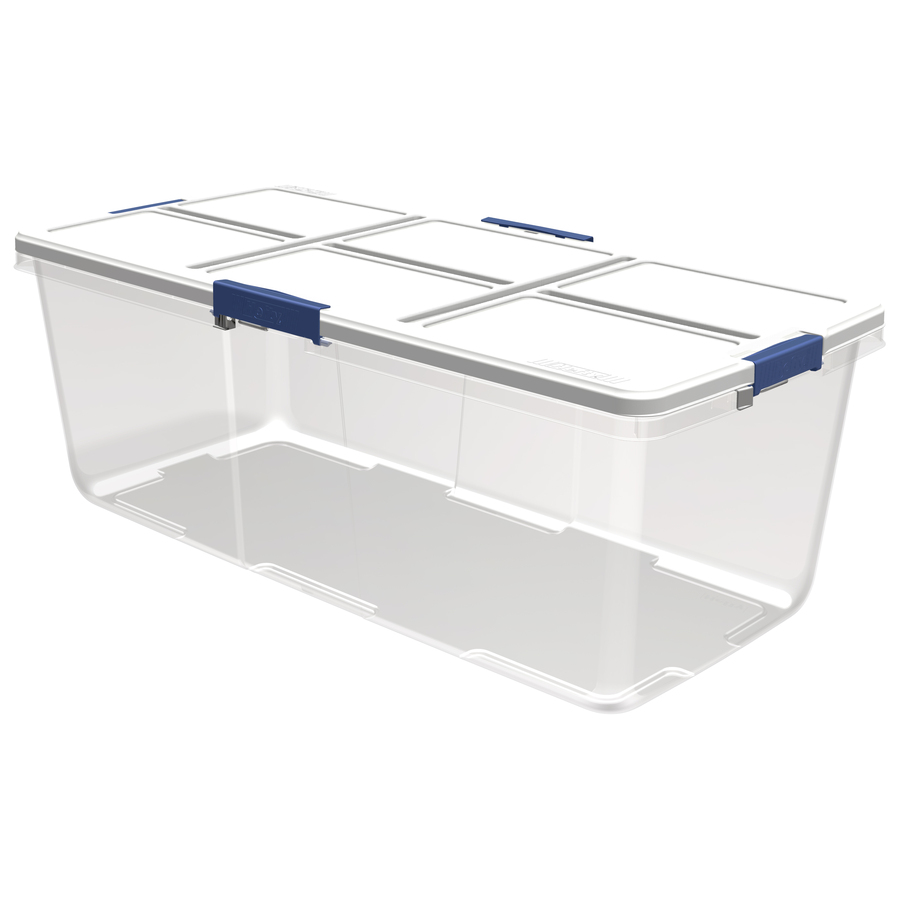 For our brooders, we use clear plastic totes, with the lids cut out and replaced with hardware mesh. This not only keeps the birds from escaping but keeps curious cats, dogs, and pet reptiles out.
You can watch the video of our brooder build on our YouTube channel.
Materials:
- A plastic tote (clear is best for visibility)
- A saw (we used a jig saw)
- A drill
- A small drill bit (to drill holes for the zip ties)
- A large drill bit (to get the saw started)
- A marker or pen
- A straight edge
- Zip ties or wire cut to length
- Hardware mesh or chicken wire
- Scissors
- Tin snips or wire cutters
Step 1 – Mark the “Window”:
 If you have multiple brooders to make it helps to stack them all one inside the other. The rigidity of the tubs will make the lid easier to cut. Leave the lid locked in place until all drilling and cuts have been made.
Place the lid firmly in place on the top of the tub and lock it in place. Determine where you want to cut your “window”. Some people prefer to cut out the whole top, others cut out 1/2 or 3/4. It depends on how much ventilation you will need. We require a lot of ventilation because we brood a lot of chicks in a small laundry room with no opening window and no central AC, often in the summer.
Mark the “window” area out using a marker/pen and a straight edge. Step back and make sure you are satisfied with your marks.
Step 2 – “Mark Drill Holes”:
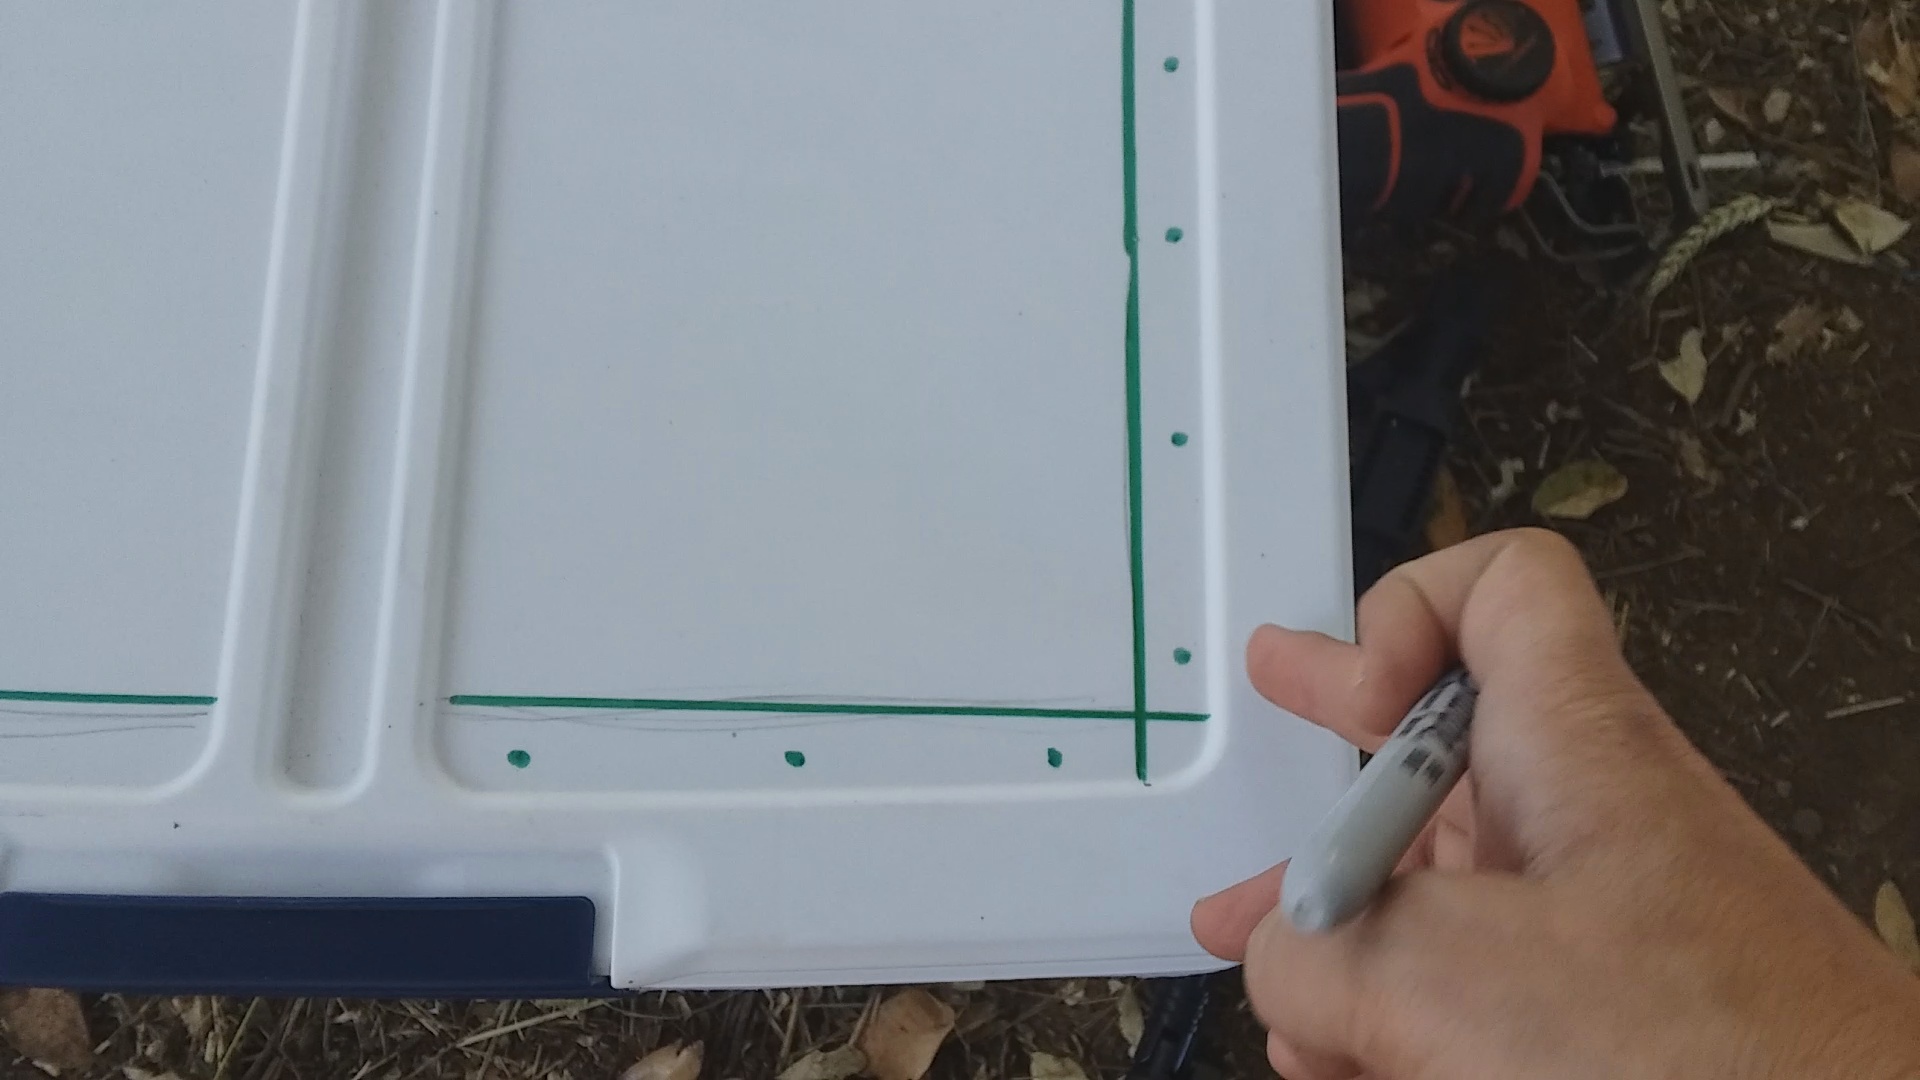 Mark where you would like your zip ties to go. Some people place these several inches apart, even 3-5 inches. Other people, like myself, prefer 1-2 inches. Our teenager owns a snake and wild reptiles have also been known to get into our home. Crafty house cats and curious dogs also roam our household. I don’t take chances. A measuring tape can be used if you aren’t sure but you can eyeball it. The chickens won’t mind if it isn’t perfect.
Step 3 “Drill Holes”:
Drill the holes for the zip ties first. It is much harder to drill the holes after you cut out the middle of the window area. The support just isn’t there. You can do it, but it will be faster if you do the holes first.
Step 4 “Cut Out Window”:
 Drill a large hole on the inside corner of the window. Any corner will do, just don’t drill it inside your zip tie area. This will provide space for your saw blade to slip in.
At this point your jig saw skills will be put to the test. Take it low and slow and it will turn out fine.
Step 5 – Cut Screen Material:
If you have some rough edges after removing the middle, you can take some sandpaper to the edges of the window frame but I never do. At this point, I lay out my hardware mesh over the window and determine how much I’m going to need to cut off with my tin snips.
If you are using chicken wire you may want to go a little beyond or a little inside the window, depending on how wide your window is. Having pointy bits of wire sticking out is not fun when you are trying to unlock the lid.
Step 6 – Attach Screen Material:
Take the cut wire panel and attach it to the window at the corners with two zip ties, as shown to the right. Once each corner is secure, then zip tie the middle of each side and proceed place a zip tie through each hole you have drilled, until the wire panel is snug and secure.
Step 7 – Clean and Prepare Brooder:
Take a cloth and wipe all the plastic particles out of the brooder. Babies put everything in their mouths and chicks are no exception.
You’ll also want to ensure you have a 250-watt infrared heat lamp with a red bulb (or a heater element like the one I’ll be writing about next week), a thermometer, bedding (like pine shavings), feeders, waterers, starter feed, and electrolytes.
Have fun building your own brooders and send us pics of your completed project!
![]()